The original poster Jason/Deadrise agrees this topic can benefit from everyone posting their carvings or creations to it instead of a separate topic each time. Thank you.

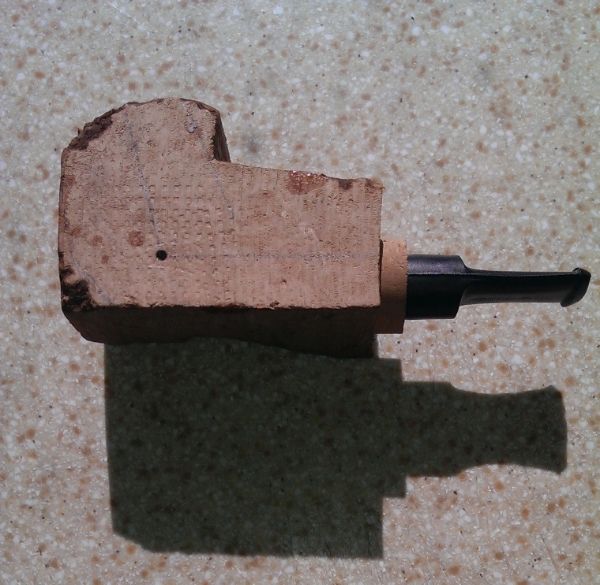
For my first attempt at making a pipe, I bought some pre-drilled kits from Pipes & Cigars. One of the three had a less than perfect drill job on the drought hole, it is a bit off centered. P&C is my favorite retailer, but I will buy the rest of my kits (already ordered one) from Vermont Freehand.
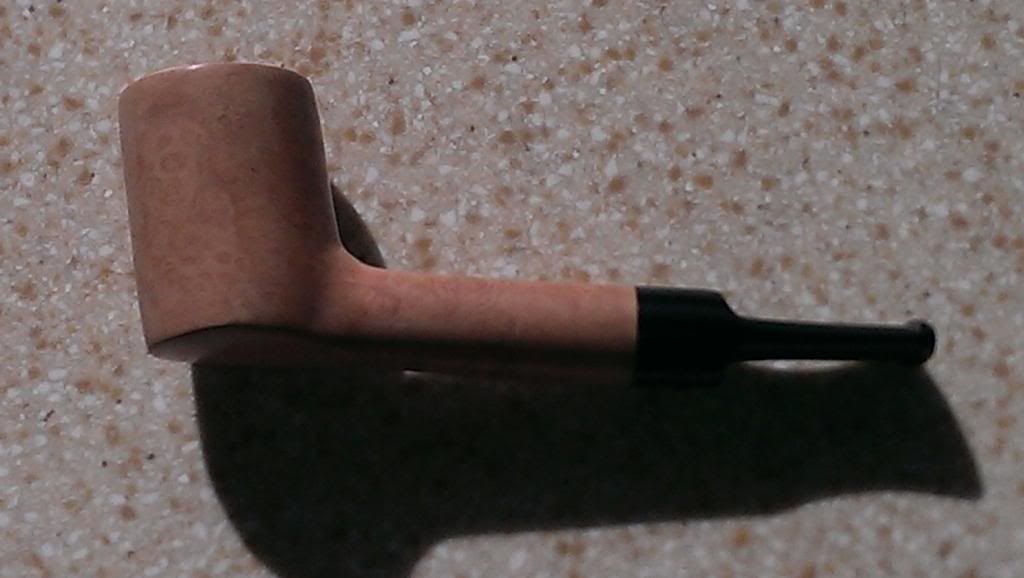
Being so many years since I have worked with wood, I forgot a few things and made an error in sanding. I sanded my pipe to 12,000 grit without doing any dye/stain along the way. The pipe shines but won't take the dye...I will have to re-sand back to 400 grit to apply the dye then sand, then dye, then sand ect...then polish with tripoli & white diamond.
ALL my shaping was done using 60 grit sanding disc on a little all-in-one set-up from the 60's called a toastmaster deluxe. Here is a link to what those do & look like. This is not my set-up, bu what I have is identical.
http://vintagemachinery.org/photoind...l.aspx?id=5120
I wish I took more pictures along the way even though I have to back track. (at least now I can get more pictures)
Picture #1 is rough pre-drilled block.
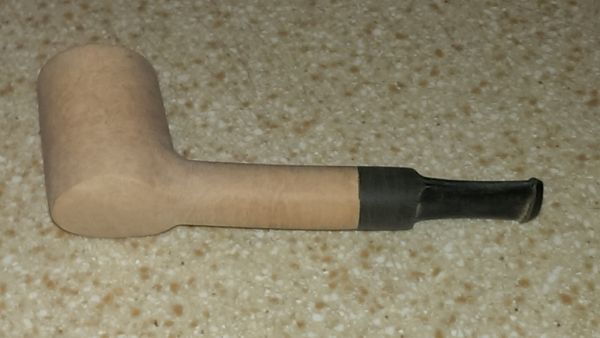
Picture #2 is after I finished shaping and ready to hand sand.
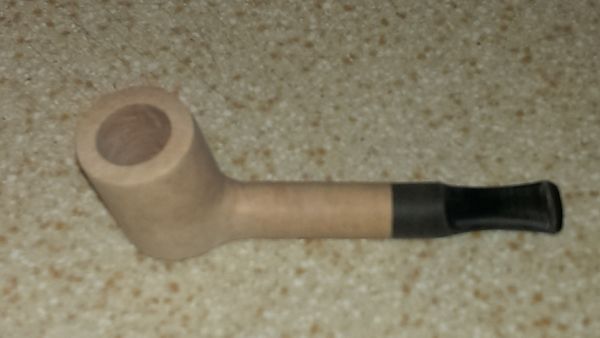
Picture #3 is a different angle after finished shaping
Picture #4 is after being sanded to 12k grit. It really may not benefit much from polishing after being sanded this far...I'll know for sure next week.